Mazda Miata / Protege Replacement Dipstick Handles
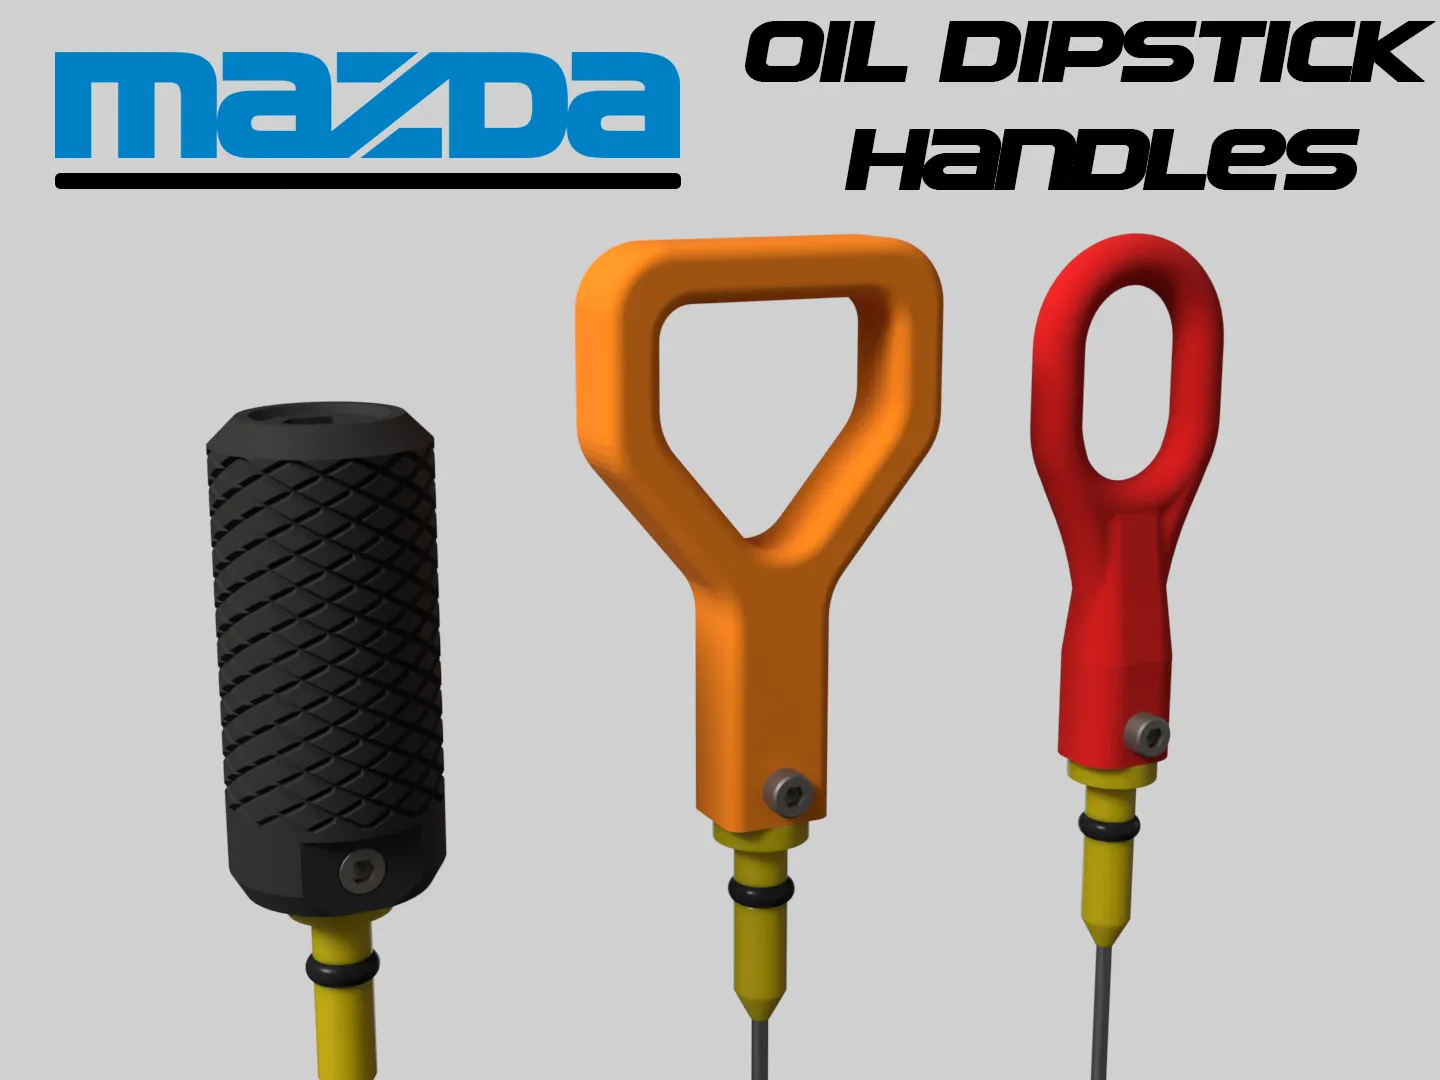
Thank you Bambu Lab for selecting this model as one of the featured models for the PET-CF Filament line! You can find out more about the filament here and here I designed these 3D-printed oil dipstick handles as replacements for broken handles on various 90's and 2000's Mazda models. Available in three unique styles, these handles offer both durability and aesthetic options for restoring dipsticks.Knurled Cylinder: This style offers a textured, cylindrical grip for enhanced handling, even with oily or wet hands. The knurled surface provides a secure, tactile feel, making it a practical upgrade for those who prefer a rugged, functional design.Shovel Handle Style: Inspired by classic utility handles, this design features a curved, ergonomic shape for easy grip and leverage. Its broad profile makes it convenient for quick removal and insertion of the dipstick.Smoothed Oval Standard Handle: This style mimics the traditional oval handle with a smooth, minimalist finish. It is designed for those looking for a simple, reliable replacement that closely resembles the original.Vehicle Fitment Chart: ModelYearFitsMiata / MX - 51990 - 2005YesProtege / 51999 - 2003Yes6261993 - 2002YesMX - 61993 - 1997Yes All handles were 3D printed in Bambu Lab PETG-CF, ensuring heat resistance and longevity in the demanding environment of an engine bay; although other viable filaments include PAHT-CF, ABS-GF, PA6-GF, ASA, and PET-CF.These replacement handles are designed to slot over the broken portion of the dipstick and are secured with a screw through a hole in the dipstick drilled by the user. This straightforward installation process makes them a practical solution for anyone looking to restore functionality without replacing the entire dipstick. Boost MeThanks for checking out this project! If you like the Dipsticks or any of my other models consider leaving me a Boost!I'd appreciate any other comments and feedback you may have such as design suggestions, fitment issues, and other vehicles this may fit! Installation: PrepareWhat You'll Need:Drill3/32 Drill Bit7/64 Drill BitM3 x 12mm Hex Screw MeasureMeasure approximately 13.25mm from the top of the Dipstick Base, this is where you'll be cutting. CutCut off the broken section of the handle, leaving approximately 13.25mm remaining. A 0.5mm variation in the cut is okay! Align HandleInstall the handle and using the 3/32 Drill Bit, drill a pilot hole for the M3 Screw. Once the pilot hole is drilled, you can remove the Handle and drill the hole back out with the 7/64 Drill Bit. DrillOnce the pilot hole is drilled, you can remove the Handle and drill the hole back out with the 7/64 Drill Bit. The hole should be positioned near the bottom of the oval slot. You can file or drill the hole more if you'd like a looser fit for the M3 screw. Install the M3 ScrewInstall the M3 Screw making sure that it is actively threading into the plastic on the other side. One hole is slightly larger on one side to hold the threads tight.