Simple Tesla Front Grill License Plate Mount
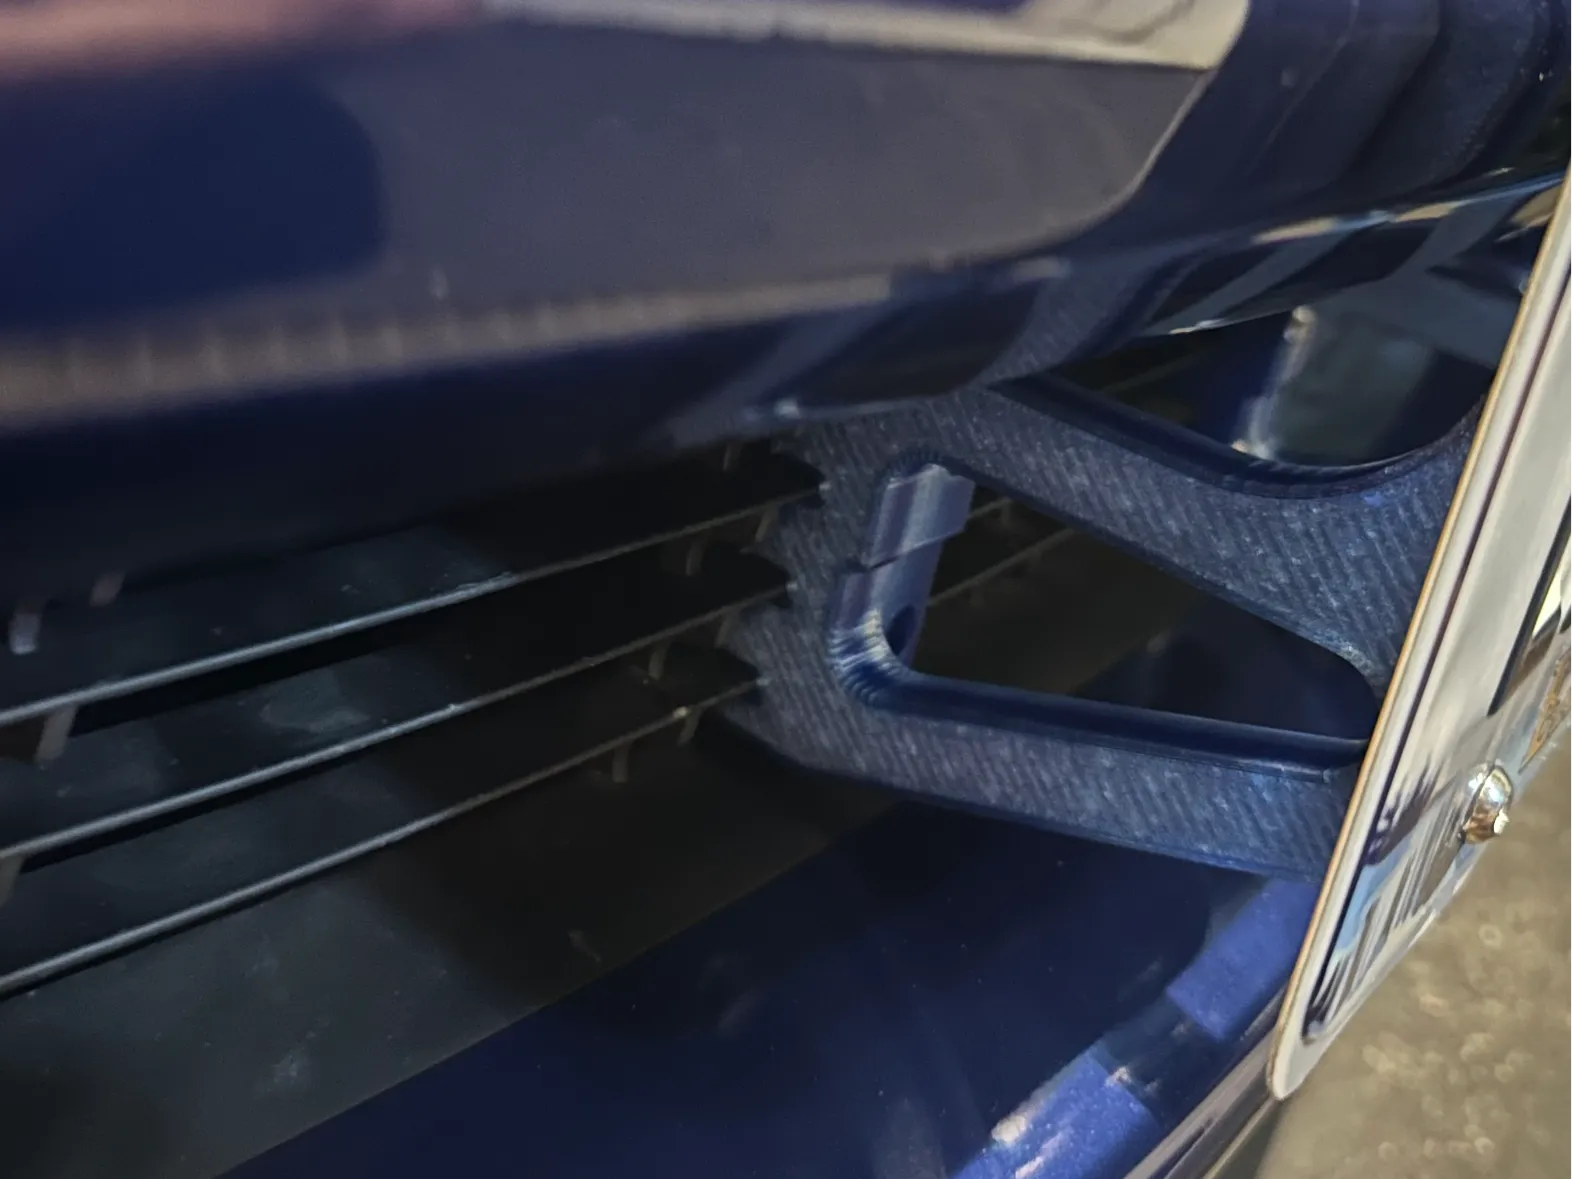
This is a remix from a file I printed back in 2023 from https://www.thingiverse.com/thing:6541049. I liked the design and it worked will for me but I never liked the heat inserts for something that I wanted to make sure the bolts were tight without pulling out the inserts so I redesigned the brackets and added some additional pieces. My redesign has two main brackets that are mirror images of each other and are designed to utilize (2) M6 nuts for each (so a total of 4). This allows you to place the bolt holes hidden behind the plate if you want to have a cleaner look, or print which ever one better centers your plate on the car by avoiding the vertical pieces of the grill. I printed one of each but you need to print a total of 2 main brackets. You also must print 2 back brackets. again these are designed to hold (2) M6 nuts each (so total of 4). After that, all the other plates are optional. I provided caps for an instance where your nut and bolt or just your bolt are exposed. The first time I printed this with the inserts, the nut has to be exposed so i used the caps. If you use the correct bolts, the caps can be avoided altogether, but I wanted them available just in case. I also provided two different guides for US plates. When I installed this the first time, the plate was always in the way and made it more difficult to install. I used the guide so I could mount the brackets but still have room for my hands and tools. This again is up to you! Installation: I used one of the straight guides to get an idea where my brackets where going to fall. Based on that I selected and printed one of each main bracket. Also install the nuts into the back brackets. They need some force to fit in the sized holes.I installed one main bracket in it's approximately final location. With the new tolerances, it should stick and not fall out.Now when putting in the back bracket, this can be a pain. I found that orienting the bracket and feeding it from the top of the grill works best, allowing the bracket to fall and then be held in place with one finger. Hold the back bracket against the front bracket and thread in a bolt. I used (4) M6x30mm bolts. There are holes in the bracket to accept the bolt head, but if your bolt heads don't fit in those holes, use (4) M6x40mm bolts. If you aren't sure if they will fit the holes, just go with the M6x40mm bolts.Do this on both sides. I used the “x” guide to insure that the brackets were centered and the right distance for my plate. Then I tightened the bolts. Now install the nuts into the front brackets. I am telling you to do this now because the to nuts in the bottom part aren't press fit so they can fall out during the installation. Save yourself some time from picking up loose nuts.Finally install your plate using (4) M6x12mm bolts. These work perfectly, leaving no exposed bolt behind the plate.Look at the pictures. The first one I installed back in 2023 on a 2023 Model Y, was printed with Dremel translucent PETG. It was the old design and so you can see the nut/bolt caps on the back of the plate. The heat inserts have also failed at times. The new model (ironically installed on a new-to-me 2022 Tesla Model Y) was printed with blue translucent PETG (to sort of camouflage against the blue car). If you've gotten this far, I think it only fair that if you want to use a different size nut/bolt combo, I have no problem modifying my files to accommodate. I would need the nut width and depth and the bolt head and threaded section diameter. With that, I can update it to work with your hardware. Good Luck!