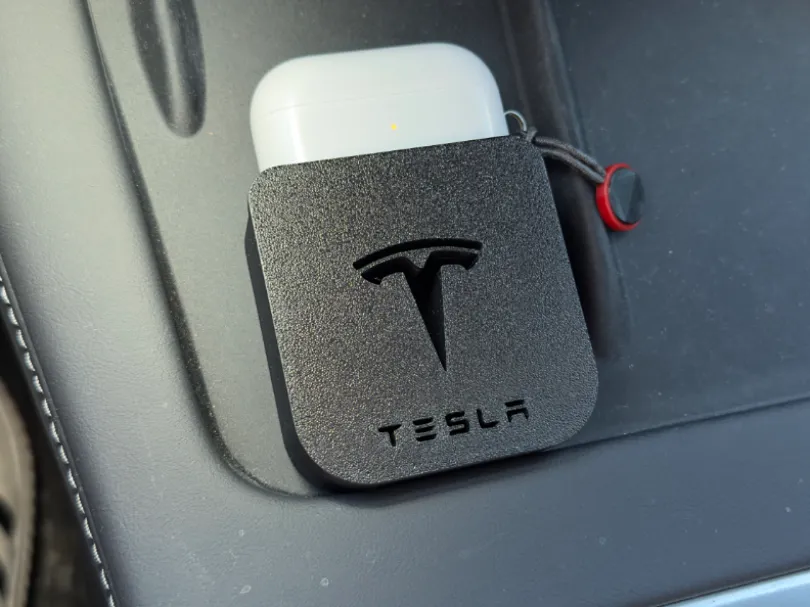
Tesla QI2/Magsafe Charger Mat
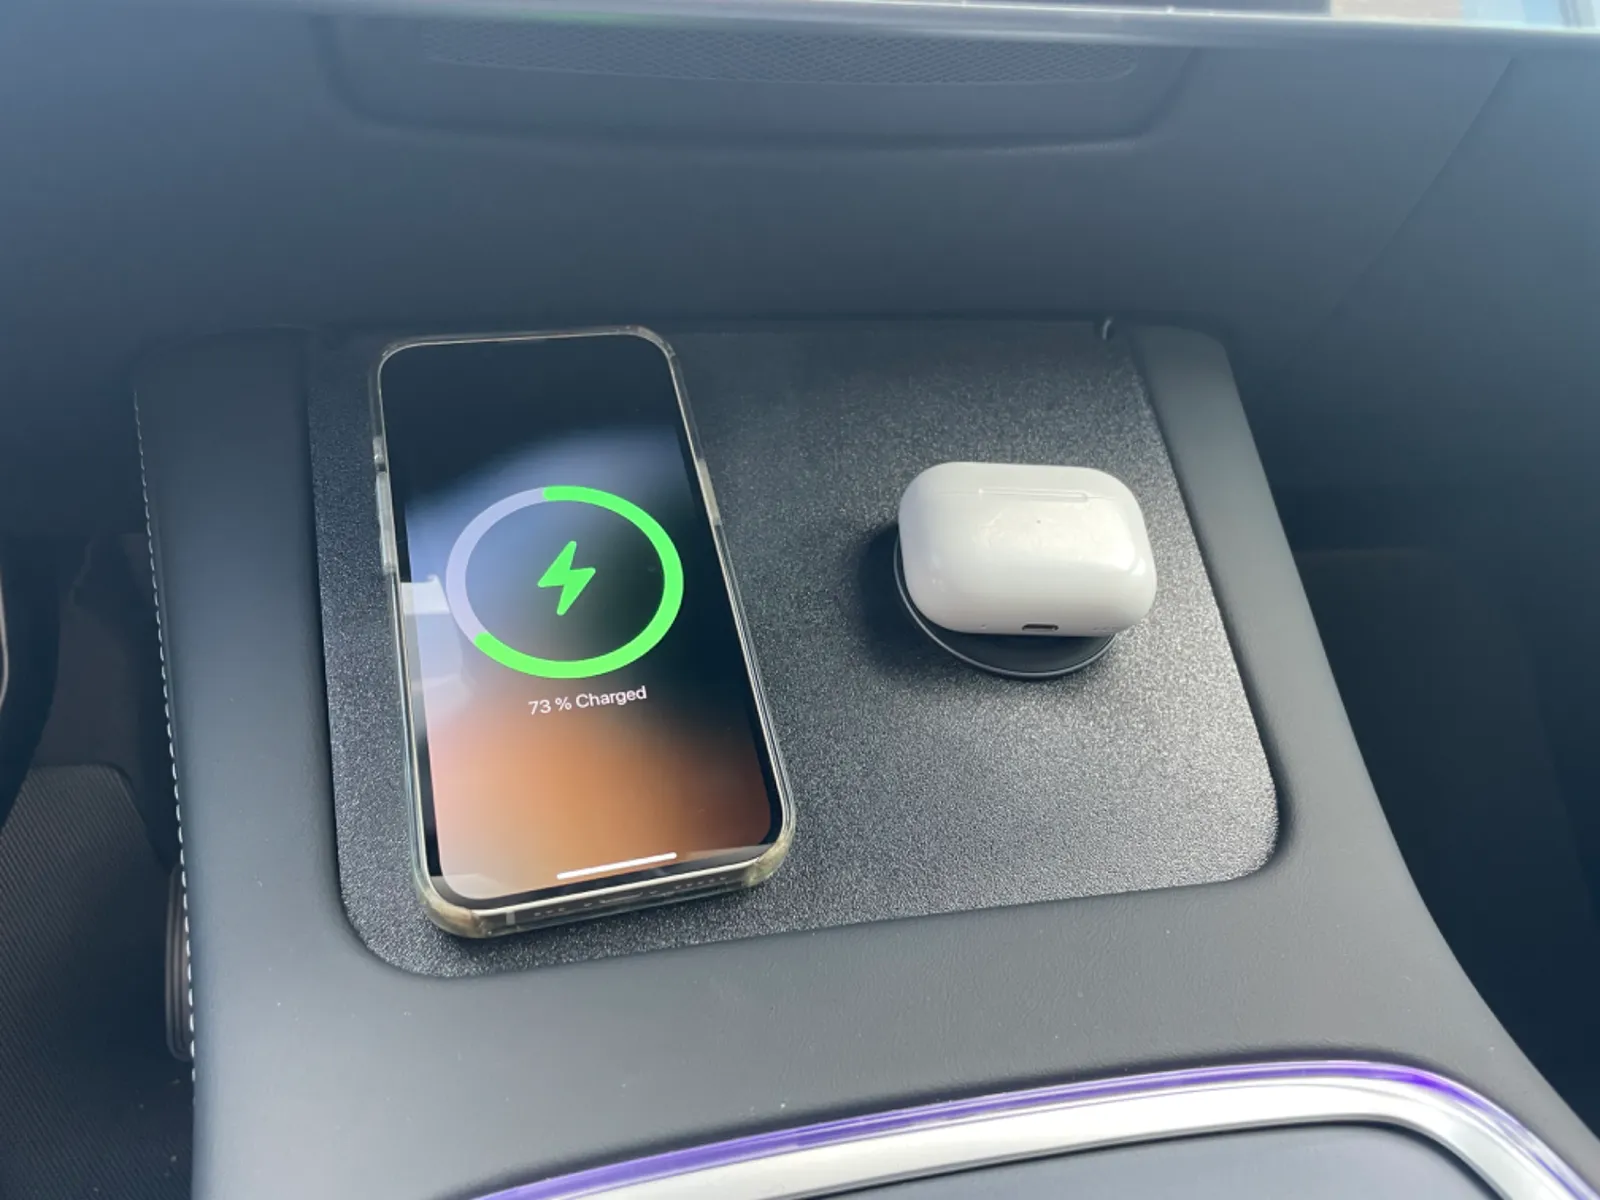
I really like my 2024 Model Y, but the wireless phone charger is one of the few things that won't work for me. You have to carefully position your phone for it to charge, it easily moves on the soft surface and stops charging when taking a turn and the usually poor alignment of the coils will cause my phone to overheat. Given all that I tried to design a non-destructive charger mat that works for leased cars (i.e. out-ruling mods like this).FeaturesCharger mat is simply placed on-top of the existing chargerHolds two future proof QI2 wireless charger pads supporting 15 wattsAllows charging of any QI2 or Magsafe device including AirPodsWill charge QI devices with added magnets or Magsafe compatible caseCables will be almost invisible routed under the trim and powered via dual USB-C 12V plug under the arm restCompatibilityThe Charger mat has been tested with Model 3/Y with second generation consoles (those with the fabric-covered charger). I haven't been able to test it with the Model 3 Highland yet. Not sure, if this works nicely with the keycard reader or even fits in the first place. Feedback highly appreciated. Any charger puck with 60mm and a cable length of at least 1.5m or 5ft will work, but I specifically tested this with the Anker MagGo Wireless Charger Pad. Initially I planned to use Apple's official MagSafe charger, but the cable is too short and the attached cable is too close to the charging surface. Happy to provide an untested variant for the new 25 Watt / 2m cable MagSafe charger, if someone is willing to test it.PartsHere are the parts I used with some affiliate links, if you want to support my work.Anker MagGo Wireless Charger (Pad)LISEN USB C Car ChargerPrinting instructionsPrint the charger mat at least in PETG. Even if you live in Norway or Alaska the puck will become too hot for PLA. If you live in a hot region I would recommend printing in ABS/ASA. Make sure your filament is dry for a nice surface finish. For the carbon lovers out there: Using the carbon effect sheet might be a nice addition here.AssemblyPut both charger pucks in the mat and route the cable through the nooks at the top. Make sure to route the cable on the shortest path as the 1.5m length is an almost exact fitLet the puck stick out slightly to accommodate for the camera bumpPut the charger mat in on top of the OEM charger matTug the cable below the trim on the top and route the cable from the left puck to the left side and the right puck to right sideTug the cable under the trim of the armrest all the way back to the armrestPlug the cable into a 12V dual USB C charger. Make sure the charger supports USB Power Delivery